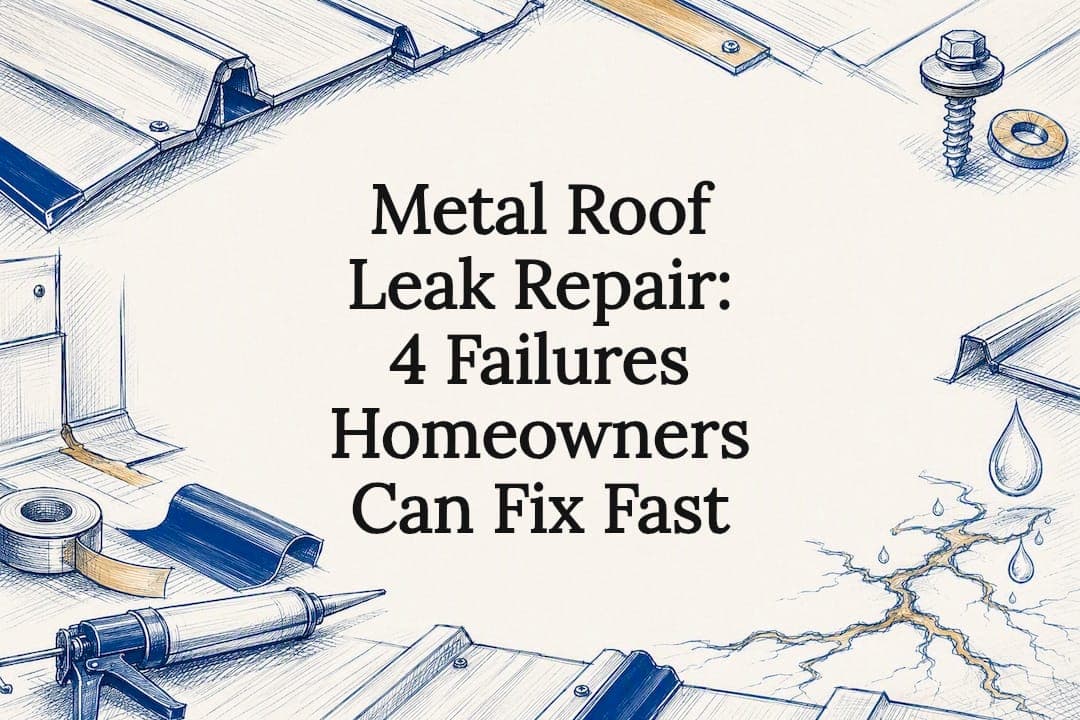
If your metal roof is leaking right now, set a bucket, move anything valuable out of the drip path, and shoot a few photos before you touch anything. Do not climb a wet roof. Once the rain stops, the leak almost always traces back to one of four culprits: a failed fastener, damaged flashing, a separated seam, or a small puncture. Most of those are fixable in an afternoon.
TL;DR:
- Fasteners, flashing joints, seams, and small punctures are the common causes of leaks that are often fixable within an afternoon.
- When inspecting for leaks, follow water flow from ceiling stains through the attic and outside to identify the true entry point.
- Temporary fixes include tarping, laying plastic sheeting, and sealing small gaps with butyl tape, but avoid household sealants that degrade quickly.
- Long-term repairs should involve replacing failed fasteners, resealing or replacing damaged flashing, and patching or replacing corroded panels, with professional help for complex cases.
- Regular maintenance, including biannual inspections and timely sealant renewal, can prevent costly repairs and extend the roof’s lifespan.
Table of Contents
- How to Find the Real Source of a Metal Roof Leak
- Temporary Fixes to Stop a Metal Roof Leak in the Rain
- Permanent Repair Methods That Actually Hold Up
- When to Call a Professional Instead of DIYing It
- Maintenance Schedule and What Repairs Typically Cost
- Why Specialist Work Beats a DIY Patch in the Long Run
- Get a Straight Answer on Your Leak From SW Metal Roofing
- Sources
- FAQ
How to Find the Real Source of a Metal Roof Leak
The stain on your ceiling is rarely directly under the hole. Water travels along the underside of ribs and seams, sometimes for several feet, before it finds a gap in the decking and drips down. That’s why tracing the leak upward from the interior stain, rather than assuming the leak is straight above it, is the accurate way to find the actual entry point.
Start inside, in the attic if you have one. Follow the wet trail along the rafters and decking toward the roof edge, checking insulation and underlayment for damp patches along the way. Then move outside.
Exterior inspection sequence:
- Scan the roof from the ground first with binoculars, looking for lifted panels, rust streaks, or missing fastener caps.
- Check gutters and valleys for debris that traps water against the panel.
- Inspect exposed fasteners and washers for cracking, backing out, or rust rings, since a single loose screw can rot the decking underneath in one wet season.
- Run a hand or caulk scraper along seams and overlaps to feel for gaps or lifted edges.
- Look closely at flashing around chimneys, vents, and skylights. That’s where most leaks in an otherwise sound metal roofing system actually start.
- Check end laps, and any place a pipe, antenna, or satellite mount penetrates the panel.
Bring a flashlight, chalk to mark suspect spots, and your phone camera to document each finding for a contractor later.
Pro Tip: If the roof pitch is steep, wet, or you’re not confident on a ladder, stop and call a professional. A metal roof inspection costs far less than a fall.
Temporary Fixes to Stop a Metal Roof Leak in the Rain
You can’t do a permanent repair mid-storm, but you can buy yourself time and keep water damage from spreading. Handle the interior first, then address the roof if it’s safe to do so.
- Set a bucket or basin directly under the drip, and lay plastic sheeting over anything you can’t move.
- Poke a small controlled hole at the lowest point of a ceiling bulge to let trapped water drain into a container instead of soaking through drywall.
- Photograph every wet spot and stain now, while the damage is visible, for insurance and repair records.
- If it’s safe to access the roof, lay a tarp over the suspected leak area and batten down the edges with wood strips screwed into the roof structure, not just weighted down with bricks.
- For a small, exposed gap, peel-and-stick flashing tape or butyl tape can hold back water for days if the surface is dry and reasonably clean.
Skip the hardware-store shortcuts that feel productive but backfire. Household silicone caulk breaks down fast under UV exposure and heat cycling, which is a large part of why most DIY sealant failures happen in the first place. Walking on a wet metal slope is very dangerous and can lead to serious injuries. Avoid doing so to prevent accidents. And cranking down an existing screw usually just crushes the hardened washer underneath it, opening a new path for water instead of closing one.
Permanent Repair Methods That Actually Hold Up
Temporary patches stop the bleeding. These fixes stop the recurrence.
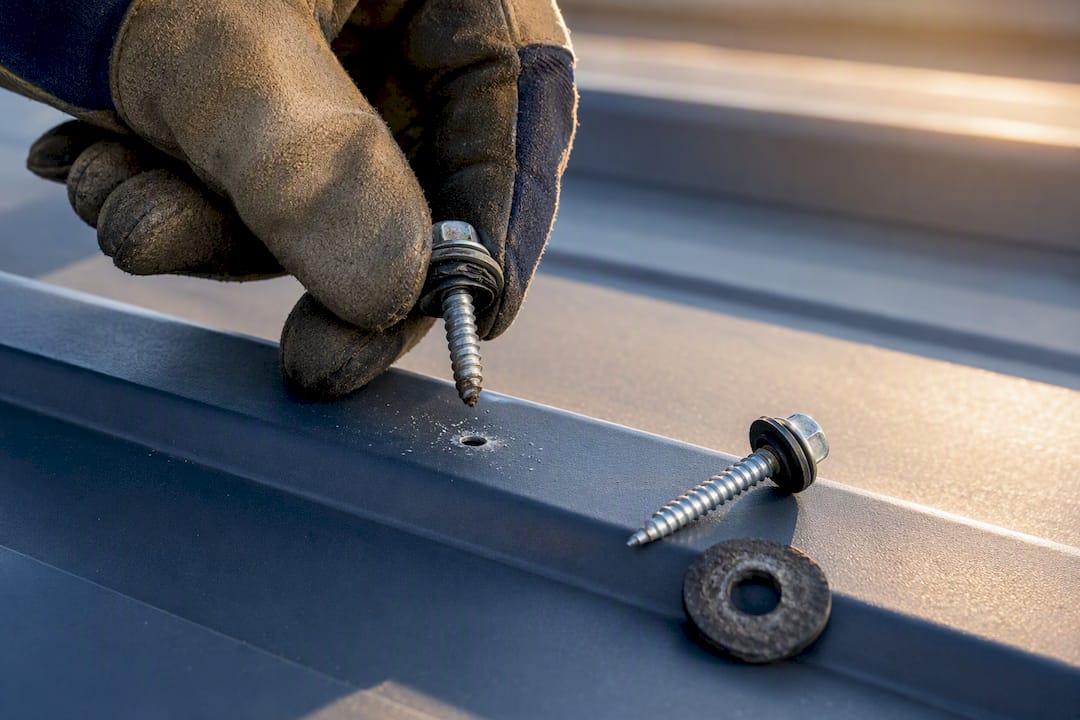
Fasteners. Remove the failed screw entirely rather than driving it back in. Retightening an old screw crushes the hardened rubber washer and strips the hole. The fix is a slightly larger diameter screw paired with a fresh UV-stable EPDM washer set into virgin metal a half inch or so from the old hole. If you’re finding failed fasteners across large sections of the roof, that’s a sign the whole field needs a re-screw cycle, not a spot fix.
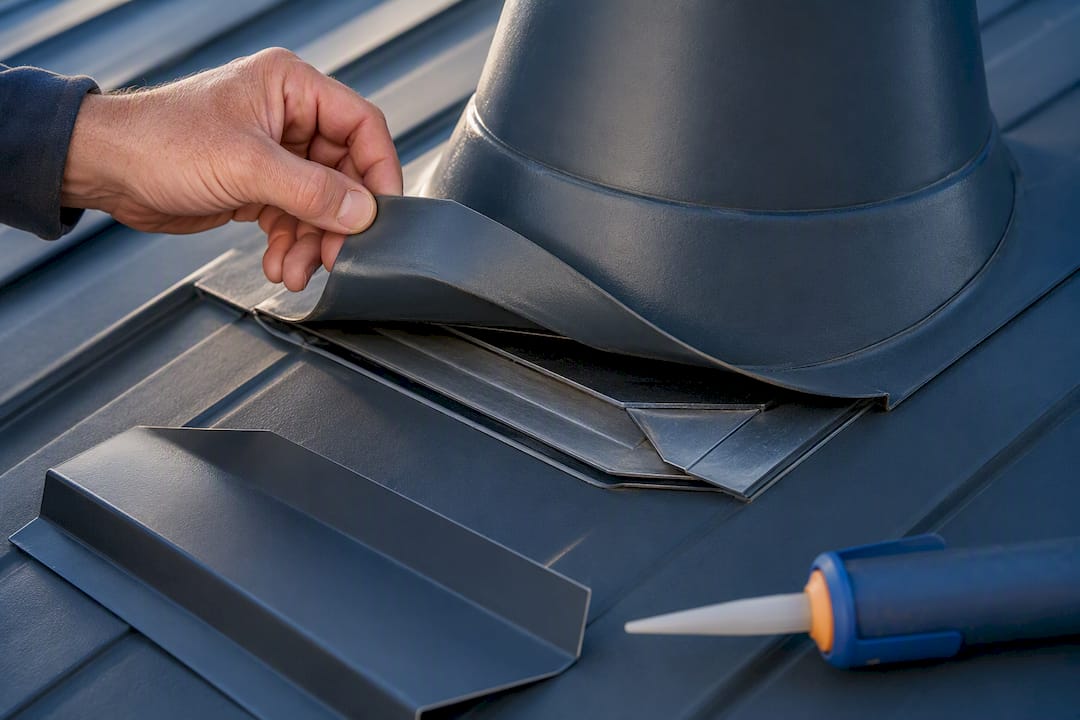
Flashing. Flashing around chimneys, vents, and skylights fails at the joint, not usually the metal itself. Remove the damaged piece and replace it rather than smearing caulk over the gap. Manufacturer maintenance manuals are blunt about this: surface-applied caulk is not a long-term fix, and some leaks genuinely require disassembling the joint and resealing between the metal layers, not just on top of them.
Punctures. A small puncture, say from hail or a fallen branch, can often take a patch cut from matching panel stock, clamped or screwed over the hole, with sealant run around the perimeter. Larger holes, tears near a seam, or damage that’s spread across more than one panel usually call for a panel replacement instead of a patch that will just fail again at the edges.
Sealant choice matters more than people think. A metal-grade polyurethane, sold as a “roof and flashing” sealant, is generally the right call for exposed fasteners and flashing joints. It stays flexible, resists UV, and can be painted to match the panel. Butyl tape is better suited to concealed laps where it won’t see sun exposure. Silicone can work in narrow situations but yellows, chalks, and loses adhesion faster outdoors than either option. Loctite’s own application guidance stresses removing rust and old caulk residue completely before applying anything new, since sealant bonds to bare metal, not to grime or a failed previous bead.
Pro Tip: If a joint has been resealed twice already and it’s still leaking, the problem is the joint geometry or corrosion underneath, not the sealant brand. Stop reapplying and get it disassembled.
Full roof replacement becomes the right call when corrosion has spread across multiple panels, seam locks have separated in several places, or the decking underneath has already rotted from long-term moisture.
When to Call a Professional Instead of DIYing It
Some leaks are a Saturday project. Others are a liability if you attempt them yourself. Call a licensed roofer when any of these apply:
- The leak is on a steep pitch, a second story, or anywhere you can’t stand safely.
- The leak keeps returning after two repair attempts at the same spot.
- You see seam separation, widespread rust, or soft, spongy decking underfoot.
- You genuinely can’t identify the source after a full inspection.
- Your roof’s warranty language prohibits DIY repairs, since most manufacturer warranties require using approved products and, in some cases, approved installers.
Before you sign anything, ask a contractor: How many metal roof repairs have you completed in the last year? Which panel systems do you specialize in? What sealant brand and fastener specs will you actually use? Will this repair affect my existing warranty? What’s the warranty on labor versus materials?
| What a solid estimate includes | Why it matters |
|---|---|
| A clear diagnosis with photos | Confirms they found the real leak source, not just a symptom |
| Repair vs. replace options | Shows they’re not defaulting to the most expensive fix |
| Itemized materials list | Lets you check sealant and fastener compatibility yourself |
| Timeline and cleanup terms | Protects you from an open roof during a surprise storm |
| Written warranty terms | Confirms what’s covered and for how long |
Maintenance Schedule and What Repairs Typically Cost
Two inspections a year, spring and fall, plus one after any major storm, catches most problems before they become emergencies. Each visit should cover fasteners, sealant condition at every penetration, flashing, and gutter and valley debris.
- Wash panels with low-pressure water under 1,200 PSI and a mild detergent or vinegar mix; high-pressure washing strips protective coatings and can force water under seams.
- Treat rust spots early with a primer and compatible topcoat before they spread.
- Plan on a full re-screw cycle for exposed-fastener roofs periodically according to manufacturer or professional guidance.
- Renew sealant at penetrations every 10 to 20 years, even if nothing looks wrong yet.
These figures line up with industry-standard maintenance guidance on frequency and cost. Keeping to this schedule is genuinely the cheapest insurance you can buy for a metal roof.
Why Specialist Work Beats a DIY Patch in the Long Run
DIY handles the fastener that backed out or the small tape patch that gets you through a storm. But once you’re dealing with seam separation, corroded panels, or a roof where three previous patches have all failed, the smarter move is a specialist who can rebuild the joint correctly instead of layering another patch on top. That’s the gap between a repair that lasts a season and one that lasts the life of the roof. Custom fabrication work, like the 18-inch snap-lock panel profile built for coastal wind and salt exposure, exists precisely because generic patches don’t hold up long term in those conditions.
— David
Get a Straight Answer on Your Leak From SW Metal Roofing
Sw-metalroofing repairs the exact failure points covered above: worn fasteners, flashing joints, seam separation, and panel punctures, on standing seam and exposed-fastener systems alike, without subcontracting the work out to someone else.

When you call, expect a real inspection first, not a sales pitch: photos of the actual failure point, a written estimate that lays out repair versus replacement, and warranty terms spelled out before any work starts. If you’re adding solar down the road, it’s worth asking how that affects your existing roof warranty before the panels go up, since Sw-metalroofing handles roofing and solar integration under one team rather than splitting the job between two contractors. Every project comes with a warranty, so a repair today isn’t just a patch, it’s backed by the company’s standard guarantee.
If the leak on your roof looks like more than a fastener or a flashing joint, start with a metal roof repair estimate, or check ballpark replacement costs if your roof is closer to the end of its life than the beginning.
Sources
Save the McElroy Metal maintenance manual and Loctite’s sealant application guide for warranty and product questions during any bid review.
- How to seal a metal roof: Locate and seal leaks like a pro! — Loctite
- Roof Owner’s operation and maintenance manual — McElroy Metal
- Metal roof maintenance: checklist, schedule & cost — The Roofing Brief
- Metal roof panel maintenance guide — Metal Roofing Systems
FAQ
What is the best way to seal a leaking metal roof?
A metal-grade polyurethane “roof and flashing” sealant applied to clean, rust-free metal works best for exposed fasteners and flashing joints, since it stays flexible and resists UV without cracking.
Is it common for metal roofs to leak?
Leaks are uncommon on properly installed systems but do happen, most often at fasteners, flashing, and seams rather than through the panel itself, which is why twice-yearly inspections catch problems early.
Will flex seal work on a metal roof?
Spray sealants like that are a short-term patch at best. They aren’t formulated for long-term UV exposure the way a metal-grade polyurethane sealant is, and manufacturer manuals warn against relying on surface caulks as a permanent fix.
How do you stop a metal roof leak in the rain?
Set interior containment first, then if it’s safe, lay a tarp over the leak area and secure it with battens screwed into the structure rather than just weighted down, until the weather clears for a permanent repair.
How much does metal roof leak repair typically cost?
Small repairs such as fastener or minor flashing fixes can vary significantly in cost depending on extent and materials. A full re-screw cycle on an exposed-fastener roof can cost several thousand dollars, depending on size and labor.